Last Updated on April 19, 2026 by Deliciously Organic Editor
It’s been so fun to provide you with sourdough recipes, and many of you have asked for an easy sourdough starter recipe, so here is a step-by-step tutorial along with printable instructions!
Here are the ingredients and tools you will need to make your sourdough starter:
Whole wheat flour (just a 1/2 cup)
All-purpose flour (I prefer organic)
Water
Glass jar or sourdough crock
A spoon and fork
Clean cloth
Kitchen scale
Now it’s time for the tutorial! (The printable recipe is below the tutorial)
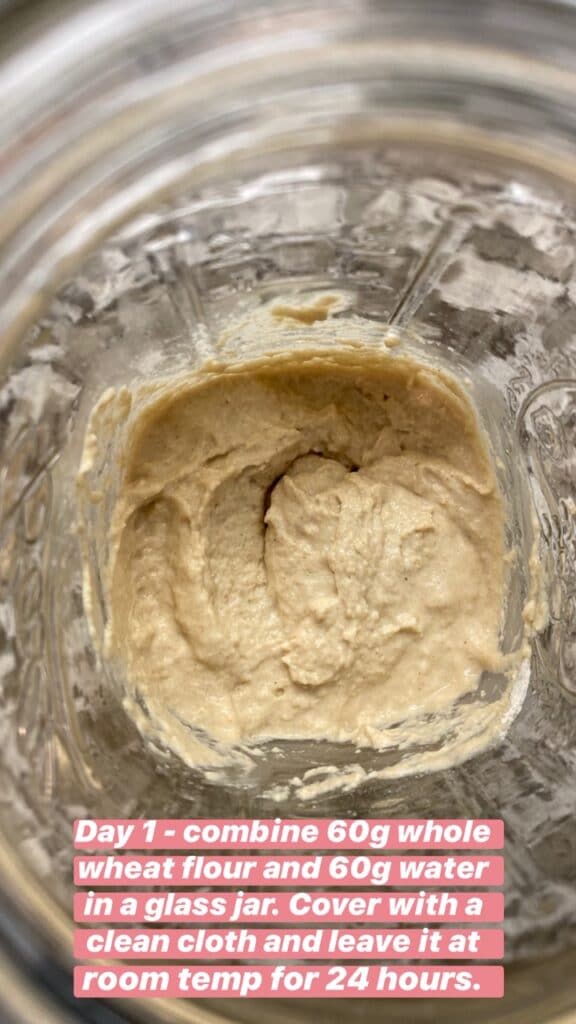
Day One: Place 60g whole wheat flour and 60g water in a mason jar and stir with a fork to combine. Place a towel over the jar and leave it out at room temperature (around 72-82 degrees F) for 24 hours.
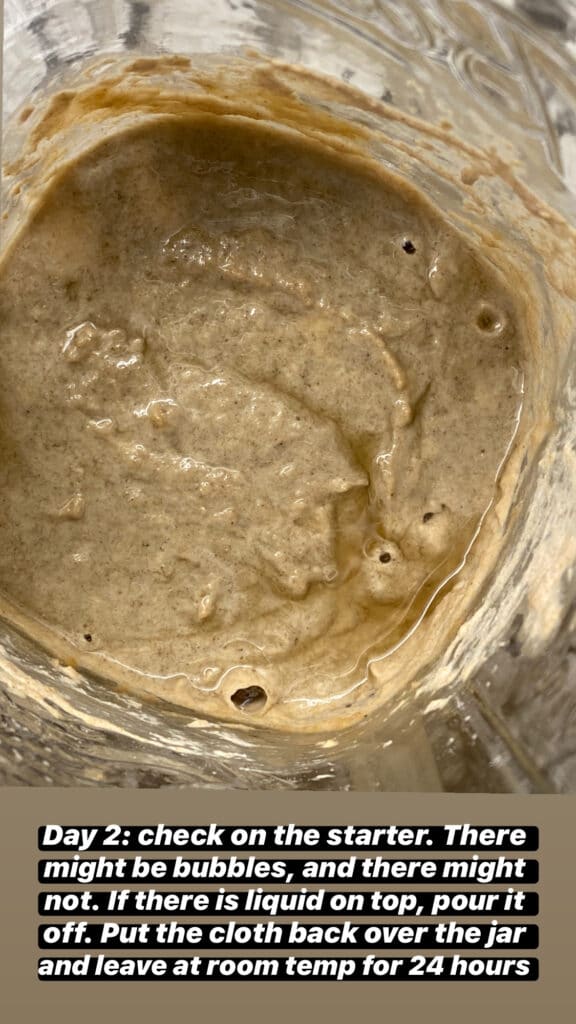
Day Two: Check the starter to see how it’s doing. You might see a few bubbles, but you might not. No need to worry! If there is any liquid on top, simply pour it off and then place the cloth back on the jar and let it sit for another 24 hours.
Day Three: Remove 1/2 of the starter from the jar and add 60g all-purpose flour and 60g water to the starter. Stir with a fork until the flour is completely incorporated. Place the cloth back on the top of the jar to cover and leave it at room temperature for 24 hours.
Day Four: At this point, you should start to see some bubbles. This is good! It means the fermentation process has begun. And, if you don’t see many at this point, it’s ok. The bubbles will come!
Remove half of the starter, add 60g all-purpose flour and 60g water to the starter and stir with a fork until the flour is completely incorporated. Place the cloth back on the top of the jar to cover and leave it at room temperature for 24 hours.
Day Five: Remove half of the starter, add 60g all-purpose flour and 60g water to the starter and stir with a fork until the flour is completely incorporated. Place the cloth back on the top of the jar to cover and leave it at room temperature for 24 hours.
Day Six: Remove half of the starter (about a 1/4 cup at this point), add 60g all-purpose flour and 60g water to the starter and stir with a fork until the flour is completely incorporated. Place the cloth back on the top of the jar to cover and leave it at room temperature for 24 hours.
Day 7: At this point there should be lots of bubbles and the texture will be spongy and/or fluffy. It should have a pleasant aroma. If you see all of these things, your starter is ready to use.
If your starter isn’t ready yet, don’t worry, just continue to feed the starter (60g of flour and 60g of water) each day until you see these signs. It could take a week or two longer.
And, as I mention in the video, it’s important to not let your starter get larger than 2 cups in volume. When it gets to about 2 cups, remove half of the starter, and then feed with your usual 60g flour and 60g water. You can give some of the discarded starter to a friend who wants to make some sourdough bread, or use it in a sourdough recipe.
Here are some fun recipes you can try once your starter is ready!
Fermented Sourdough Bread
Sourdough Cinnamon Rolls
Sourdough Brioche Cinnamon Swirl Bread
Sourdough Chocolate Chip Cookies
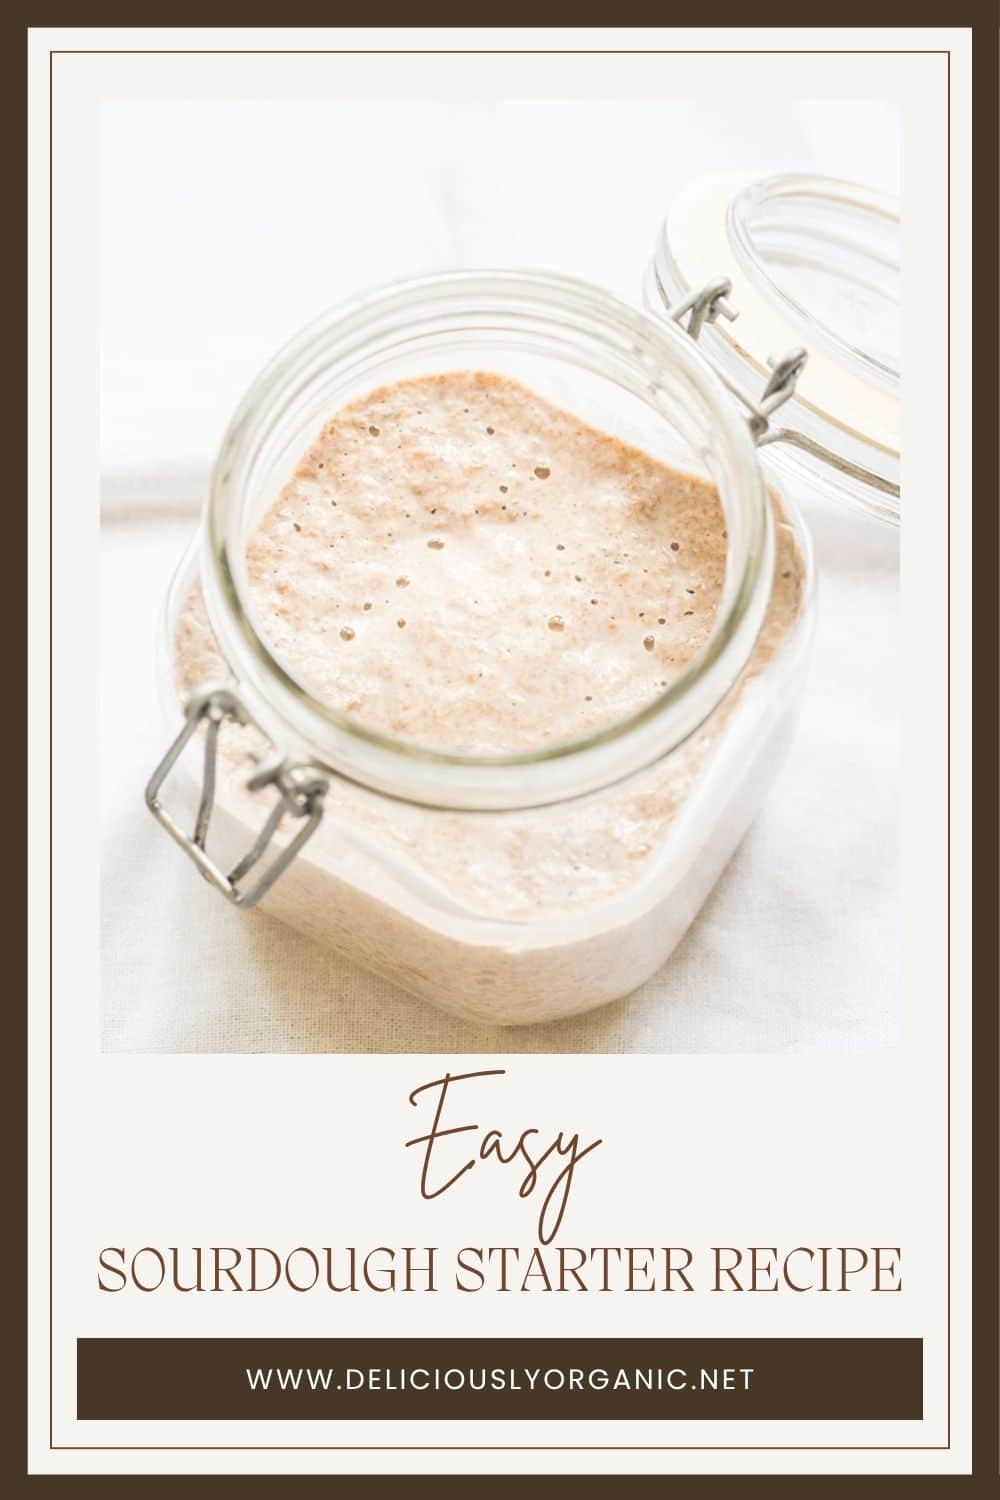
Easy Sourdough Starter Recipe
Keep in mind – If you accidentally add a gram or two of excess water, just add an additional 1-2g of flour to even things out. Getting off by a gram or so every once in a while won’t ruin your starter.
- Prep Time: 7 days
- Total Time: 168 hours
- Method: Slow Cooking
- Cuisine: American
Ingredients
Day One:
- 60 grams whole wheat flour
- 60 grams water
Day Two:
- No ingredients are needed
Day Three:
- 60 grams all-purpose flour
- 60 grams water
Day Four and Beyond:
- 60 grams all-purpose flour
- 60 grams water
Instructions
- Day One: Place the flour and water in a mason jar and stir with a fork to combine. Place a towel over the jar and leave it out at room temperature (around 72-82 degrees F) for 24 hours.
- Day Two: Check the starter to see how it’s doing. You might see a few bubbles, but you might not. No need to worry! If there is any liquid on top, simply pour it off and then place the cloth back on the jar and let it sit for another 24 hours.
- Day Three: Remove 1/2 of the starter from the jar and add 60g of all-purpose flour and 60g of water to the starter. Stir with a fork until the flour is completely incorporated. Place the cloth back on the top of the jar to cover and leave it at room temperature for 24 hours.
- Day Four: At this point, you should start to see some bubbles. This is good! It means the fermentation process has begun. And, if you don’t see many at this point, it’s ok. The bubbles will come! Remove half of the starter in the jar and add 60g of flour and 60g of water. Stir with a fork until the flour is completely incorporated. Place the cloth back on the top of the jar to cover and leave it at room temperature for 24 hours.
- Day Five: Remove half of the starter in the jar and add 60g of flour and 60g of water. Stir with a fork until the flour is completely incorporated. Place the cloth back on the top of the jar to cover and leave it at room temperature for 24 hours.
- Day Six: Remove half of the starter (about a 1/4 cup at this point in the jar and add 60g of flour and 60g of water. Stir it with a fork until the flour is completely incorporated. Place the cloth back on the top of the jar to cover and leave it at room temperature for 24 hours.
- Day Seven: At this point there should be lots of bubbles and the texture will be spongy and/or fluffy. It should have a pleasant aroma. If you see all of these things, your starter is ready to use. If your starter isn’t ready yet, don’t worry, just continue to feed the starter (60g of flour and 60g of water) each day until you see these signs. It could take a week or two longer.
- After the starter is ready to use, continue to feed your starter each day, cover with a cloth and leave at room temp until it’s time to feed the next day. When the starter gets to be about 2 cups, it’s a good idea to remove half of the starter from the jar (you can use this in a sourdough recipe, give it to a friend who wants to start baking sourdough, or discard). Then, simply feed your starter with the regular 60g of flour and water.
- If you need to leave town, or you don’t want to use the starter for a while, loosely screw a lid on the jar and place it in the fridge. It’s a good idea to feed the starter once every other week when it’s not in use. Then, when you’re ready to use the starter again, remove it from the fridge and feed the starter for 2 days before using. If it has liquid on top, just discard the liquid and feed the starter again.


53 Comments