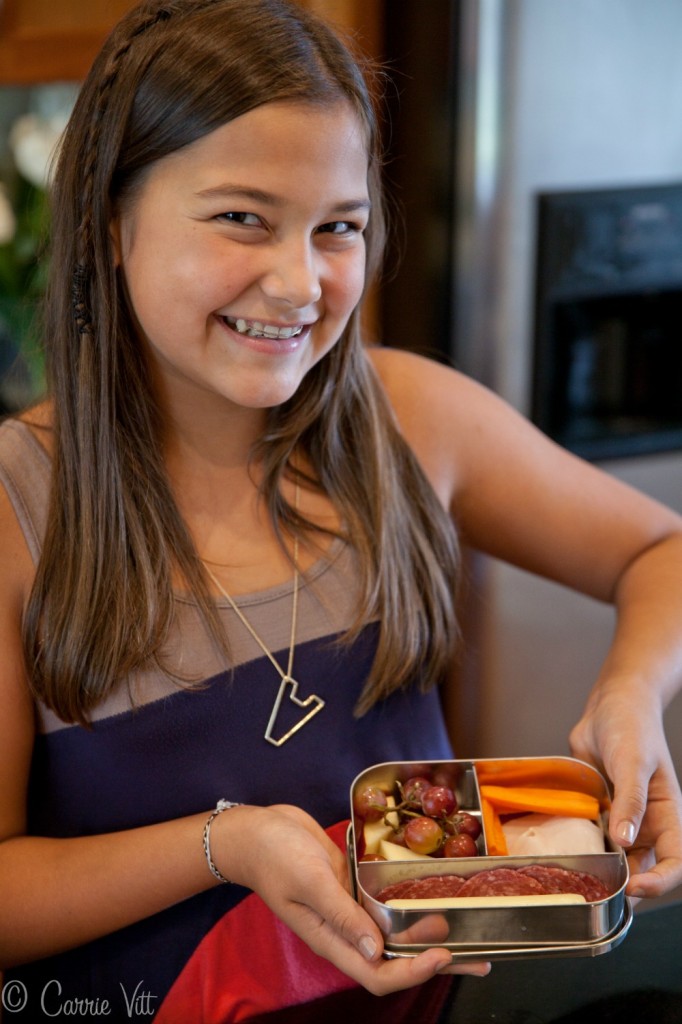
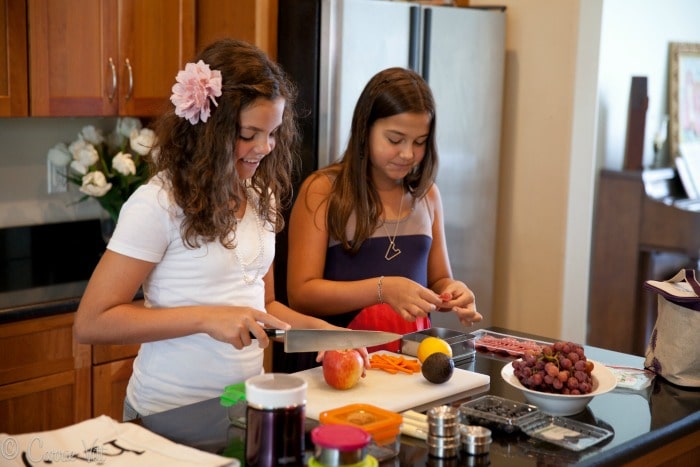
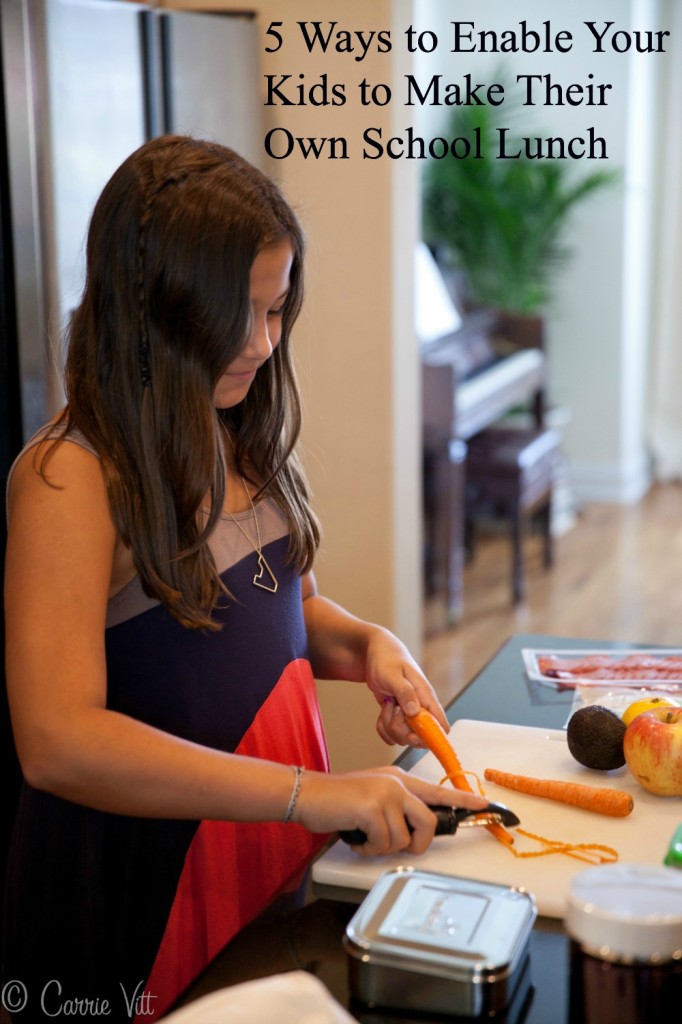
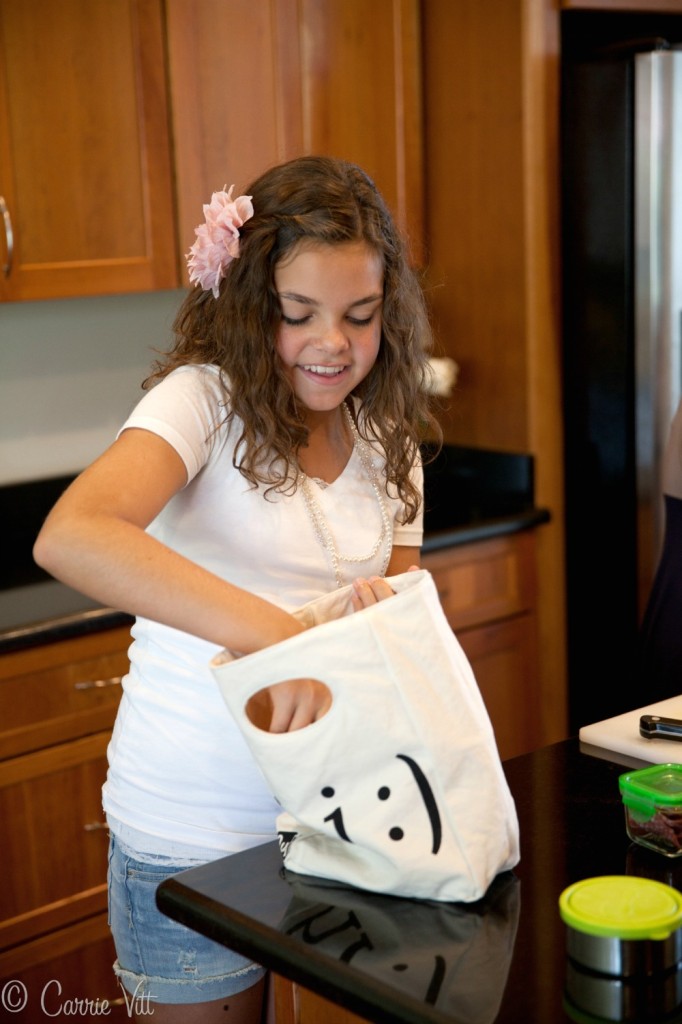
Some of you may not believe this, but my kids have made their own school lunches since they were in kindergarten. Over the years, they’ve learned the importance of healthy foods and making good choices. In the beginning years, I kept a close eye on what went into their lunch bags, but they’re in middle school now – it’s a cinch for them to put together a nutrient-dense lunch before school.
I want to encourage you to bring your kids into your kitchen, give them the tools and resources, and watch them start packing their own lunches. I sat down with my girls and we came up with five top tips to help you teach your kids to pack their own lunches:
1. Teach your kids about healthy choices. They won’t know how to make a healthy lunch unless you explain the how and why. Share with them at a young age how important it is to eat nutrient-dense foods to keep their minds alert and their bodies healthy while in school. Show them which foods are healthy choices and how to pair the foods. Initially, give them rules to guide their choices. For example, our family rule says they have to have at least one vegetable in their lunch each day.
2. Make a list of healthy foods they enjoy. The week before school starts, the girls and I sit down to make a long list of all the foods they would like to have in their lunches. Here’s a list they produced for this year:
Hot Foods for the Insulated Thermos:
Tortilla Soup
Cream of Vegetable Soup
Beef Chili
Chicken Stew with Butternut Squash and Kale
White Bean Chicken Chili
Leftovers – anything from casseroles to grilled meats to stir-fry to veggies
Lentil Soup with Swiss Chard and Sausage
Room Temparature (we pack these in Lunchskins or stainless steel containers):
Grain-Free Baguette for sandwiches (on occasion)
Organic Hot Dogs
Organic Sausages
Frittata with Sausage, Sweet Potato and Caramelized Onions
Egg Foo Young
Grain-Free Coconut Wraps (with meat or vegetables rolled inside)
Granola Bars
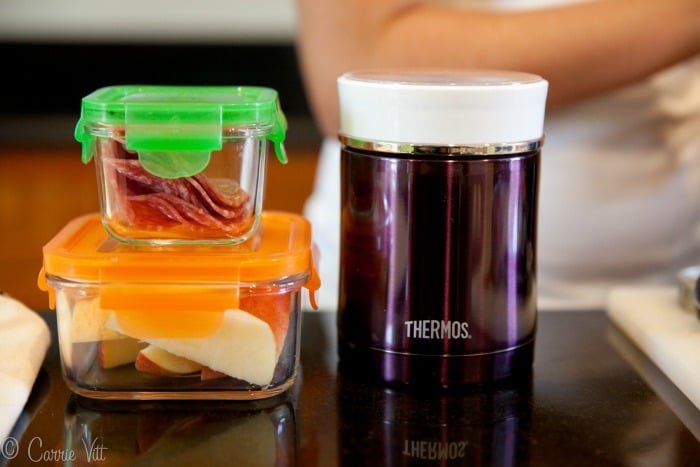
Cold Foods (we bring these in the insulated food containers or glass lock lunch cubes):
Assorted Cheeses
Organic Lunch Meat
Apples, oranges, dried fruit, grapes
Homemade Ranch or Green Goddess Dressing and vegetables (the stainless steel condiment containers are perfect for this!)
Homemade Dressing and then assorted lettuce and vegetables (we put the dressing in a lunch cube and the salad in an insulated container – just pour the dressing over, put the lid back on, shake and you’re ready for lunch!)
Mango Lassi Smoothie (pack a spoon because sometimes these can be thick!)
For the Occasional Sweet:
Grain-Free Graham Crackers
Coconut Flour Cake (I make this recipe minus the lemon curd and whipped cream)
Banana Bread
Raspberry Crumble Bars
Quick Chocolate Pudding
No-Bake Cookies
3. Stock the Fridge and Pantry. After you have the list, go to the grocery store and stock up. Keep in mind that if they like soups, stews or other hot foods in their lunch you’ll need to make one of those recipes each week or weekend so they can easily heat the food up, pour it into an insulated thermos and pack it for lunch. I also give offer them recipes for dips, granola bars, etc. We make them together to have on hand for lunches.
4. Buy the proper containers, bags and thermoses. The right vessels make a huge difference! An insulated thermos is one of my favorites because they can put hot or cold foods in there (think soups, stews, smoothies, etc.) and the food will still be the right temperature at lunch time. Water bottles are a great option instead of continuing to purchase plastic disposable water bottles. (I’ve had my stainless steel water bottle for over 8 years!). Here’s a list of some of our favorites:
Insulated Thermos (my very favorite of all! Perfect for lunches, travel, when you’re out on errands, etc.)
Hydroflask Insultaed Water Bottle (perfect for kids in sports as it keeps water or other beverages ice cold for the entire day)
Vacuum Insulated Stainless Steel Beverage Container (my husband’s favorite…keeps coffee or tea hot for at least 10 hours)
Divided Stainless Steel Food Container
Small Cooler Bag (as pictured)
Organic Cotton Lunch Bag (this is the one pictured that says, “Hi”)
Insulated Food Canisters (I love the varied sizes!)
LifeFactory Glass Water Bottle
Stainless Steel Fork and Spoon Set
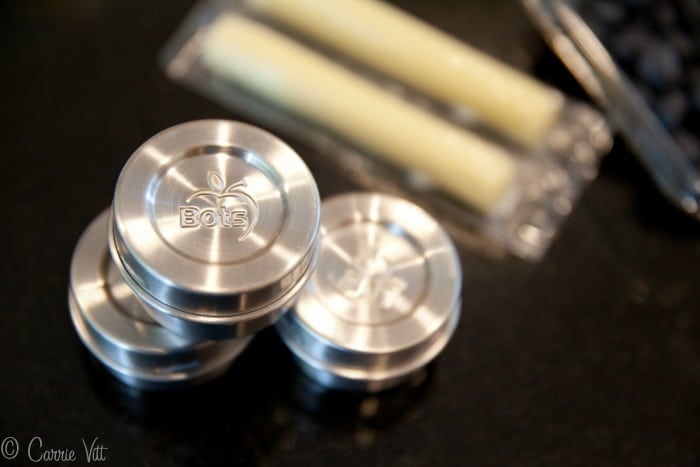
Small Round Stainless Steel Containers
5. Wake them up 15 minutes early. Create a new morning schedule that involves getting them up a bit earlier than in the past. This way they have plenty of time to put together a lunch.
Having your kids make their own lunch is a great lesson in responsibility. It teaches them how to make healthy choices and to take ownership of their food choices at a young age. I encourage you to “Do Lunch” this year and get your kids involved!
Mighty Nest is my favorite place to purchase eco-friendly lunch gear. Aside from having fantastic products, I love that MightyNest pledges to give 15% of every purchase back to your school. So shopping at MightyNest for back to school literally gives back to your school! This year their goal is to give back $1,000,000 (wow!!) so when you purchase lunch gear from MightyNest, please sign your school up!
To help equip your kids for school they have have kindly offered to give away $125 of lunch gear for the entire family! So let’s DO lunch! Pledge to involve your kids in preparing their real food lunches this school year and enter into this great giveaway. Good luck!


23 Comments